How to get a Slack notification when someone stars your GitHub repository
Gain more visibility into your community with our 5-step Zapier guide.

Josh Dzielak
February 12, 2020
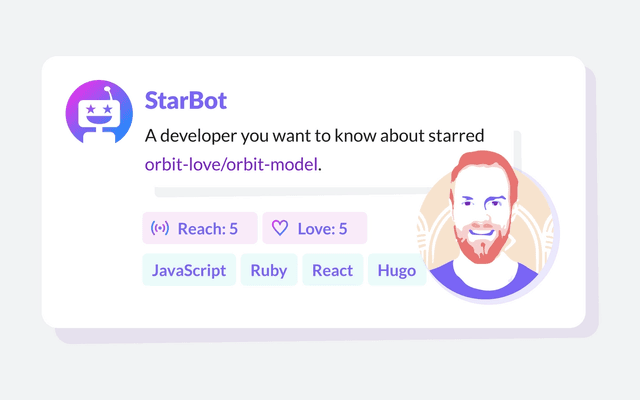
Many in the developer community view GitHub star counts as proxies for a project's success or popularity. Sure, the counts are interesting, but for maintainers and project leaders it can also be helpful to know more about the individual developers behind the button clicks. Are they fellow contributors or maintainers? What other technologies are they using?
If your goal is increasing project adoption, these clues can help you find the folks who could become strong future collaborators and advocates. With the right nurturing, they might become committers or authors of blog posts and talks—a.k.a. fans or ambassadors in the Orbit Model—and attract new contributors to the project.
In this blog post, I’ll show you step-by-step how to send notifications to a Slack channel when someone stars ⭐ to one of your GitHub repositories.
We’ll use the popular Zapier workflow automation platform to do this. The Zapier free plan only allows zaps with 2 steps and checking intervals of 15 minutes. We’ll need 3 steps in our zap, which means being on a paid Zapier plan is eventually required. However, you can sign up for a free trial for and try it out first.
Prerequisites
Unless you have one already, visit zapier.com to sign up for a new Zapier account. You'll also need a GitHub and Slack account.
Step 1 - Create a zap
Zapier calls its workflows zaps. Click the orange Make a Zap button in the header to create one.
Step 2 - Create a GitHub trigger
At the next screen, under “Choose App & Event”, search for GitHub.
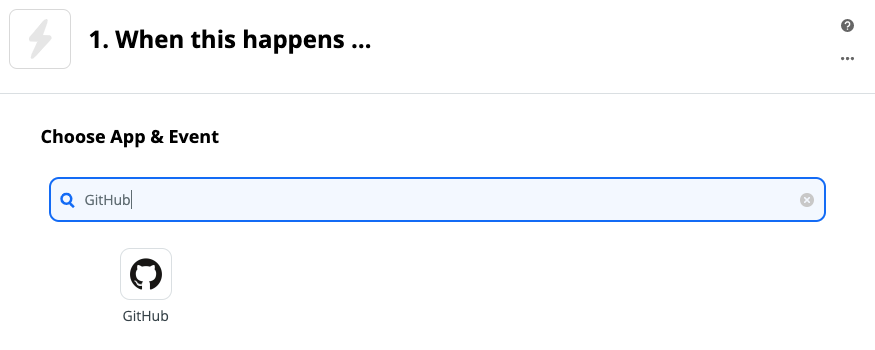
Click on GitHub. Once the dialog refreshes, open the Choose Trigger Event dropdown and choose New Repo Event.
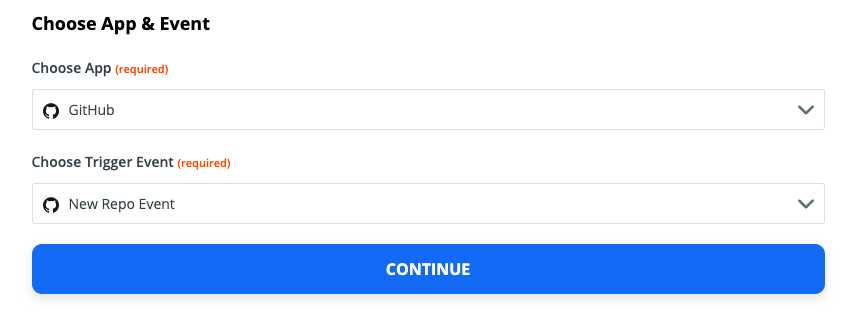
Click Continue. Next, you’ll need to connect your GitHub account. If you haven’t done this yet, expand the GitHub account dropdown and choose Add a New Account. You will go through an authentication flow with GitHub in a new window, and you will need to grant Zapier the permissions that it needs.
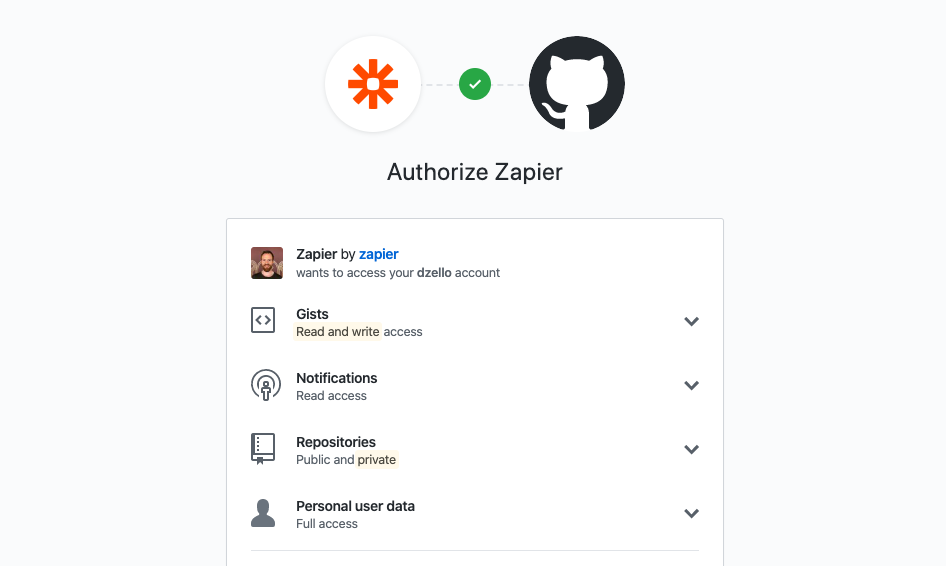
Click Continue a second time. Now, you’ll need to choose the specific repository you’d like to get notifications for. Expand the Repo dropdown to see all of the choices you have. Depending on the GitHub organizations you authorized in the previous step, you will see all the repositories you own or have access to.
Choose a repository from the list and click Continue.
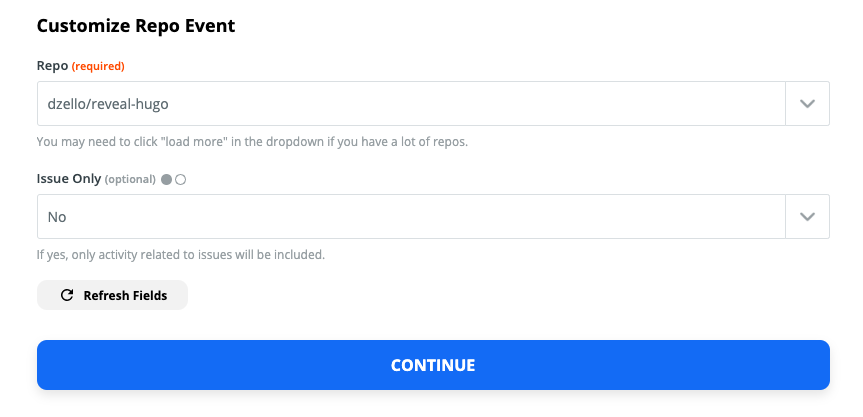
❗ Before you test, go to that repository on GitHub and give it a star. If you’ve already starred it, you can unstar and star again. This just makes the next steps easier, as the most recent event against the repository will be a WatchEvent, the one we’re going to filter for in the next step.
At the next dialog, click Test & Continue. This will verify the GitHub connection.
Step 3 - Add a filter
In the previous step, we set up a trigger that watches all events on the repository we selected. In this example, we just want to be notified about new stars. Thankfully, Zapier has an app called Filter by Zapier that lets us conditionally continue based on the results of the previous step, like an if/else statement.
Search for filter in the Do this… section and choose Filter by Zapier.
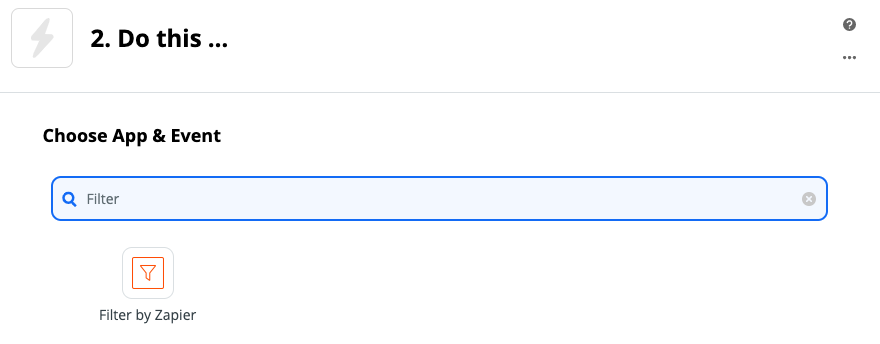
Set up a filter on the Type field, exactly matching the string WatchEvent.

The GitHub API documentation contains the full list of event types that repositories generate. Note: Although StarEvent looks like it would work for our purposes, in my testing only WatchEvent does.
Next, click Continue. You will see a message about whether the filter applied to the test event found in the last step. It’s okay whether it didn’t or not. Click the Done editing link at the bottom of the container.
Step 4 - Configure a Slack action
Click the + beneath the filter step and search for Slack. Choose Slack and choose Send Channel Message in Slack in the next dropdown.
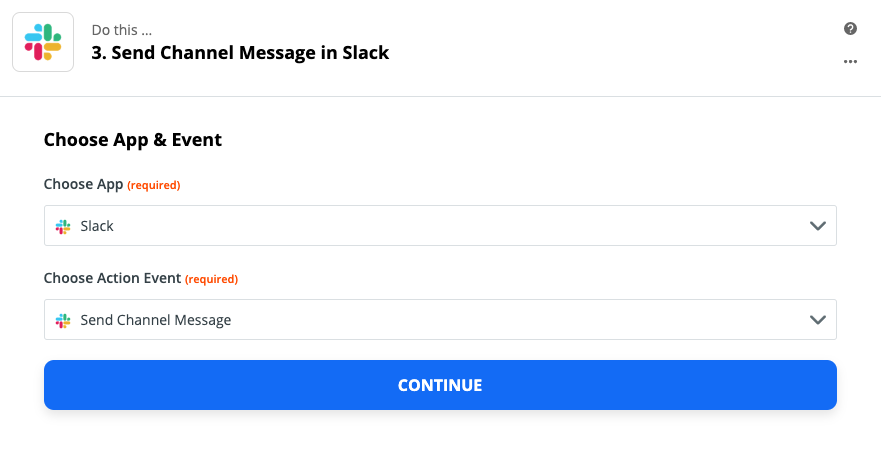
Click Continue. Choose or configure your Slack account similar to how you did GitHub before. Again, click Continue.
You should now see a form titled Customize Channel Message. This is where we configure how the message to Slack looks and what data goes inside of it. There are a lot of options, so we’ll go through the important ones step-by-step.
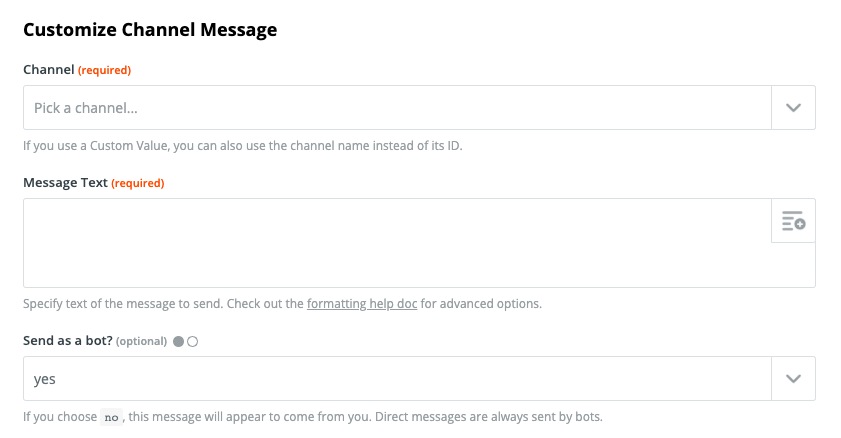
Channel - Choose the Slack channel where you’d like Zapier to send the Slack message.
Message Text - In this textbox, you will build the contents of the message you’d like to send, including variables. Here’s a basic example that includes the user and repository names.

Here's text you can copy and paste, just delete the double braces and add the corresponding variables there.
:star2: <https://github.com/{{ }}|{{ }}> just starred {{ }}!Actor Login and Repo Name are variables that came from Step 1 in the zap. Insert variables by clicking the + icon in the top-right hand corner. Why is Actor Login repeated twice? It’s because we’re creating a link that can be clicked and expanded within Slack. The link expansion will automatically show us the avatar and bio of the user who starred the repo.
To learn more about Slack message formatting options with Zapier, check out the formatting help doc.
Bot Name: You can change the name of the bot that the message will come from, to something fun like StarBot.
Bot Icon: You can also change the avatar of the bot. If you want this to be the avatar of the GitHub user, you can set it to the Actor Avatar URL field from the first zap.
If you’d like to use the StarBot icon from our demo, download it here.
Include a link to this Zap: I recommend setting this to no to keep the messages nice and clean.
Auto-Expand Links: Set this to yes if you’d like link previews. This can be used to create previews for both GitHub users and repositories based on the URLs you have in the message text, but beware that more than one preview per Slack message can get a little noisy.
Step 5 - Test the integration
Once you have all the fields like you want, click the big blue Continue button again. Then open your Slack application and click Test & Continue.
Check the channel you specified before for a notification, if everything worked you should see one like this if you used the message above.

Click Done Editing at the bottom of your Zapier flow. You should now get a message about turning the zap on. Click the button and it should change from grey to green. The zap is now activated and will run every 15 minutes (or faster) according to the plan you’re on to check for new stars.
If you haven’t named your zap yet, you should give it a memorable name like, Notify about new GitHub stars in Slack.

✨ Bonus: Get notifications for all repositories
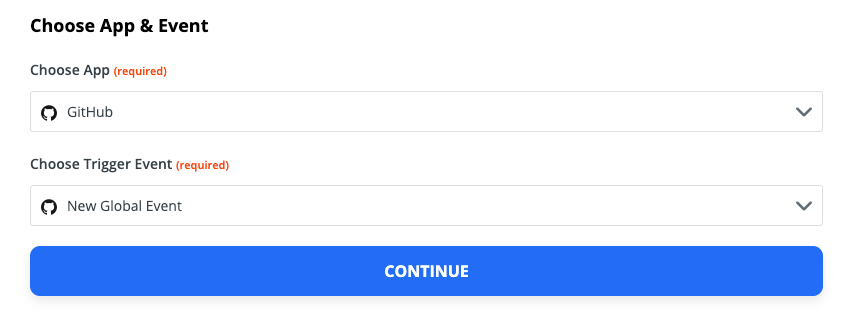
If you need to watch a lot of repositories, you can avoid having to set up many different zaps and instead use a different GitHub Trigger Event. The event you want is called New Global Event.
To set up this, create a new zap as we did before. Choose GitHub as the trigger and then New Global Event from here.
At the next dialog, you need to choose the actor of the event - Me or Others. Most likely you are interested in other people starring your repositories, so choose Others.
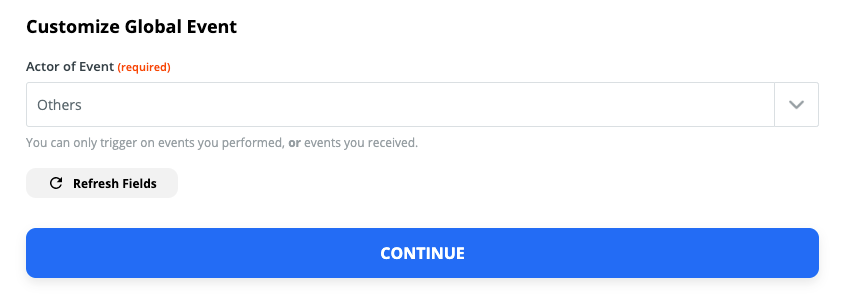
Click Continue and proceed to follow the same instructions from above. Make sure to filter for WatchEvent in the filter step or you might get a lot of notifications.
✨ Bonus: Know more about your stargazers
If you get a lot of stars for your repositories, you might not want a notification for every new star. What if you could only get notifications for certain developers, based on attributes like how often they contribute to open source or topics you're interested in?
This is where the upcoming Orbit API can help.
The Orbit API gives you handy data about GitHub users, which you can use to make your Zapier flows more interesting, either by adding filters or just more information.
Here’s what previous Slack message looks like with data from Orbit.

The Orbit API is currently in private beta. If you'd like early access, drop us an email to hey@orbit.love or subscribe below to get updates.
Stay tuned
There will always be more community members than developer advocates and community managers, and never enough hours in the day. Automated workflows with smart developer data remove manual work from a team’s task list and help them make better decisions about which developers to spend the most time with.
Follow along for more blog posts that show how to implement these workflows using tools like Zapier, Orbit, Slack and more. If you have a favorite workflow or would like you'd like to see us write about, drop us a line at hey@orbit.love or ping us on twitter @OrbitModel and let’s chat.
Thanks for reading!
You might also like:
- Why Orbit is Better Than Funnel for Developer Relations
- DevRel teams need tools and models created specifically for our discipline, and not just those adopted from other fields.
- Slack vs Discord vs Discourse: The best tool for your community
- An in-depth comparison of 3 top community platforms across dozens of factors.
- How we use Orbit to build Orbit
- A guide to how we use our product to build our community.

